Cutting Vinyl Floor Tiles: A Simple Guide
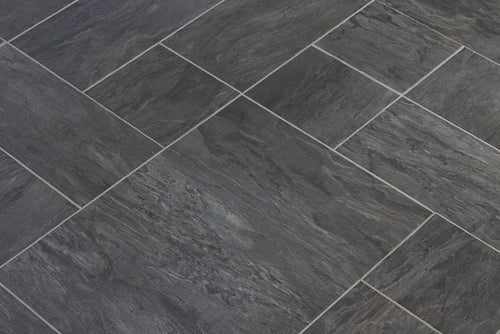
Tile-effect vinyl is an efficient and effortless alternative to traditional tiles. With multiple designs to choose from, you can have a floor that resembles the look of tiles without the hassle.
Cutting vinyl tile is just as easy. There are various steps in the process, such as straight and curved cuts, but our guide provides a simple step-by-step that anyone can follow.
Read on to begin your installation and check out our vinyl tile-effect floors whilst you’re here.
Safety Precautions
Before you begin any home improvement project, you must be aware of the necessary safety precautions.
Ensure you wear PPE. This includes safety glasses, ear protection, gloves, a dust mask, and safety shoes to prevent any chemical or tool-related injuries.
Open all windows so the area is well-ventilated, and de-clutter the workspace beforehand to avoid tripping. Always check that any electrical equipment is in good condition.
Materials and Tools
Before you begin, make sure that you have the following tools and materials:
- Vinyl tile-effect flooring
- Underlayment
- Adhesive
- Tile spacers
- Tape measure
- Chalk line
- Vinyl tile cutter
- Utility knife
- Fine-toothed handsaw
- Straightedge or T-square
- Marker
- Heat gun or hairdryer
- Tile roller
1. Measuring and Marking
Ensure that your subfloor is clean of debris and dirt. Then, determine which layout you want:
- Straight layout: Align the tiles in straight rows, typically parallel to the walls.
- Herringbone layout: Install the tiles in a zigzag pattern.
- Basketweave layout: Arrange the tiles in pairs to create a woven appearance.
- Diagonal layout: Install the tiles at a 45-degree angle to the walls.
Once you have chosen your layout, begin measuring and marking from a reference point, typically at the centre of the room or at a prominent architectural feature, like the main entrance.
Then, use the chalk line to create your layout lines. These lines will serve as a guide for the first row of tiles.
2. Straight Cuts
Follow these steps for a straight cut:
- Mark the distance from the layout line to the wall or edge. Then, mark this measurement on the first tile.
- Use a straightedge or T-square to connect the layout line to the mark on the tile.
- Score the tile along the marked line with a utility knife, applying firm pressure for a clean cut.
- Press firmly on both sides of the cut to snap the tile along the scored line. The tile should break cleanly along the line.
3. Curved Cuts
Follow these steps to achieve curved cuts for areas with corners or furniture:
- Place the tile in the position you want it and align it with adjacent tiles.
- Mark the area on the tile where it needs to be trimmed or notched.
- Use a marker to trace the curved line on the tile.
- Cut along the marked line using a sharp utility knife, making several shallow cuts to remove the material until the tile fits tightly around the obstacle.
4. Notching
For permanent fixtures such as cabinets, pipes, or columns, you’ll need to notch your vinyl tiles to fit securely around them:
- Place the tile in its intended position, making sure it's aligned with adjacent tiles and mark where it needs to be notched.
- Use a marker to draw cut lines on the tile, following the marked measurements.
- Using a fine-toothed handsaw, start with small controlled cuts along the marked lines. Gradually remove the material to create the notch.
- Ensure that the floor fits snugly around the obstacles and doesn't leave gaps.
Choose Mersey Flooring for Your Vinyl Tile Effect Flooring!
At Mersey Flooring, we provide high-quality flooring to last your home many years after purchase. Our tile-effect vinyl is a cost-effective and beneficial alternative to authentic stone for your property.
Its scratch and moisture resistance make it perfect for busy households. So, what are you waiting for? Browse our online shop or visit us in-store today.