Cleaning Floor Tile Grout: A Simple Guide
Floor tiles offer a timeless look for your home. Perfect for bathrooms, kitchens, and dining areas, this type of flooring appeals to many homeowners.
However, the grout between your floor tiles can become dirty very quickly, affecting the appearance of your floor. But don’t stress, Mersey Flooring has just what you need.
Our simple guide to cleaning the grout between your floor tiles will make your home look spotless in no time. For an alternative approach, our tile-effect laminate flooring can give your home an authentic look with less of a hassle.
What is Grout?
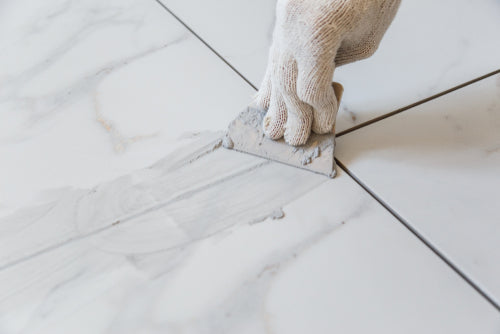
Grout is typically made of sand, water, and cement, and it is used to fill in the gaps between floor tiles. Additives, such as Polymers, are sometimes included to enhance durability, flexibility, or water resistance.
This prevents chipping and cracking, providing a smooth, finished look for your home. Grout absorbs liquid easily and is prone to dirt, grease, and grime. This means it needs to be cleaned regularly to prevent mould discolouration.
The different types of grout include:
- Sanded grout: Contains fine sand particles, ideal for filling wider gaps between tiles. This provides a sturdy finish and great texture for flooring.
- Un-sanded grout: Smoother than sanded grout, this is commonly used for wall tiles where the grout lines are thinner.
- Epoxy grout: It's highly resistant to stains and moisture due to a resin and hardener. This is a great choice for moisture-prone areas, like bathrooms and kitchens.
The Tools You Need
- Grout cleaner
- DIY cleaner (baking soda, vinegar or hydrogen peroxide).
- Grout brush/ old toothbrush/ electric scrubbing tool
- Sponge or cloth
- Bucket of water
- Grout sealer and applicator (optional)
- Measuring cup and mixing bowl (optional)
Safety: Before you get started, wear goggles and gloves to prevent injury and chemical reactions.
How to Prepare
It’s important to prepare for the task to make the process a lot easier to manage.
- Clear the space: Remove any furniture to create an unobstructed area. Sweep or vacuum the floor thoroughly to remove any dirt and debris.
- Safety precautions: Open windows or use fans to ventilate the room. Put on your protective gear.
- Inspect and repair: Repair any damaged grout beforehand to prevent deterioration of your floor. Secure any loose or broken pieces.
- Test cleaning solutions: Perform a spot test on a small area of your grout to test the product. Stop the process if it creates discolouration on your grout.
The Cleaning Process
Now that you have successfully prepared for the task, it’s time to jump into it:
- Apply the cleaning solution: Apply the cleaning solution to a small section of grout using a spray bottle, a brush, or a cloth for gel-based cleaners. Allow it to sit between 5-10 minutes.
- Scrub the grout: Start scrubbing the grout with a brush or toothbrush in a back-and-forth motion. Reapply the solution as needed for tougher stains. For DIY cleaners, add salt for extra abrasion.
- Rinse and wipe the area: Rinse the area with clean water and use a sponge or cloth to wipe away the solution and dirt. Ensure any excess cleaner is removed to prevent residue build-up.
- Dry the surface: Use a dry towel or cloth to wipe the surface once it’s clean. This will prevent mildew growth. Allow the floor to dry before walking on it.
- Inspect the grout: Inspect the grout for stains or missed spots once the floor is dry. Perform the process again if necessary.
- Seal the grout (Optional): Although optional, it is recommended that you apply a grout sealer to protect it from staining in the future.
Preventive Measures and Maintenance for Grout
To keep your tile grout in top condition, clean it regularly. This will prevent a build-up of grime, protecting the integrity of your floor.
For stains, use a mild soap and water solution. Steer clear of harsh chemicals for regular maintenance, as they can erode the grout over time.
Place mats or rugs over your tiles in high-traffic areas of your home. This will reduce the amount of dirt and grit that comes into contact with your floor.
Choose Mersey Flooring for Your Tile-effect Floors
At Mersey Flooring, we know what it takes to create a home that you can be proud of. That is why we sell high-quality floors at unbeatable prices.
Plus, we offer free delivery, and we can put you in touch with a professional to install your new floor. Browse our tile-effect laminate today or contact us for more information.